

When we first built HR Partner, I wanted to have some sort of status page like most web apps do, to let our customers know about uptime availability and any scheduled maintenance that we had planned.
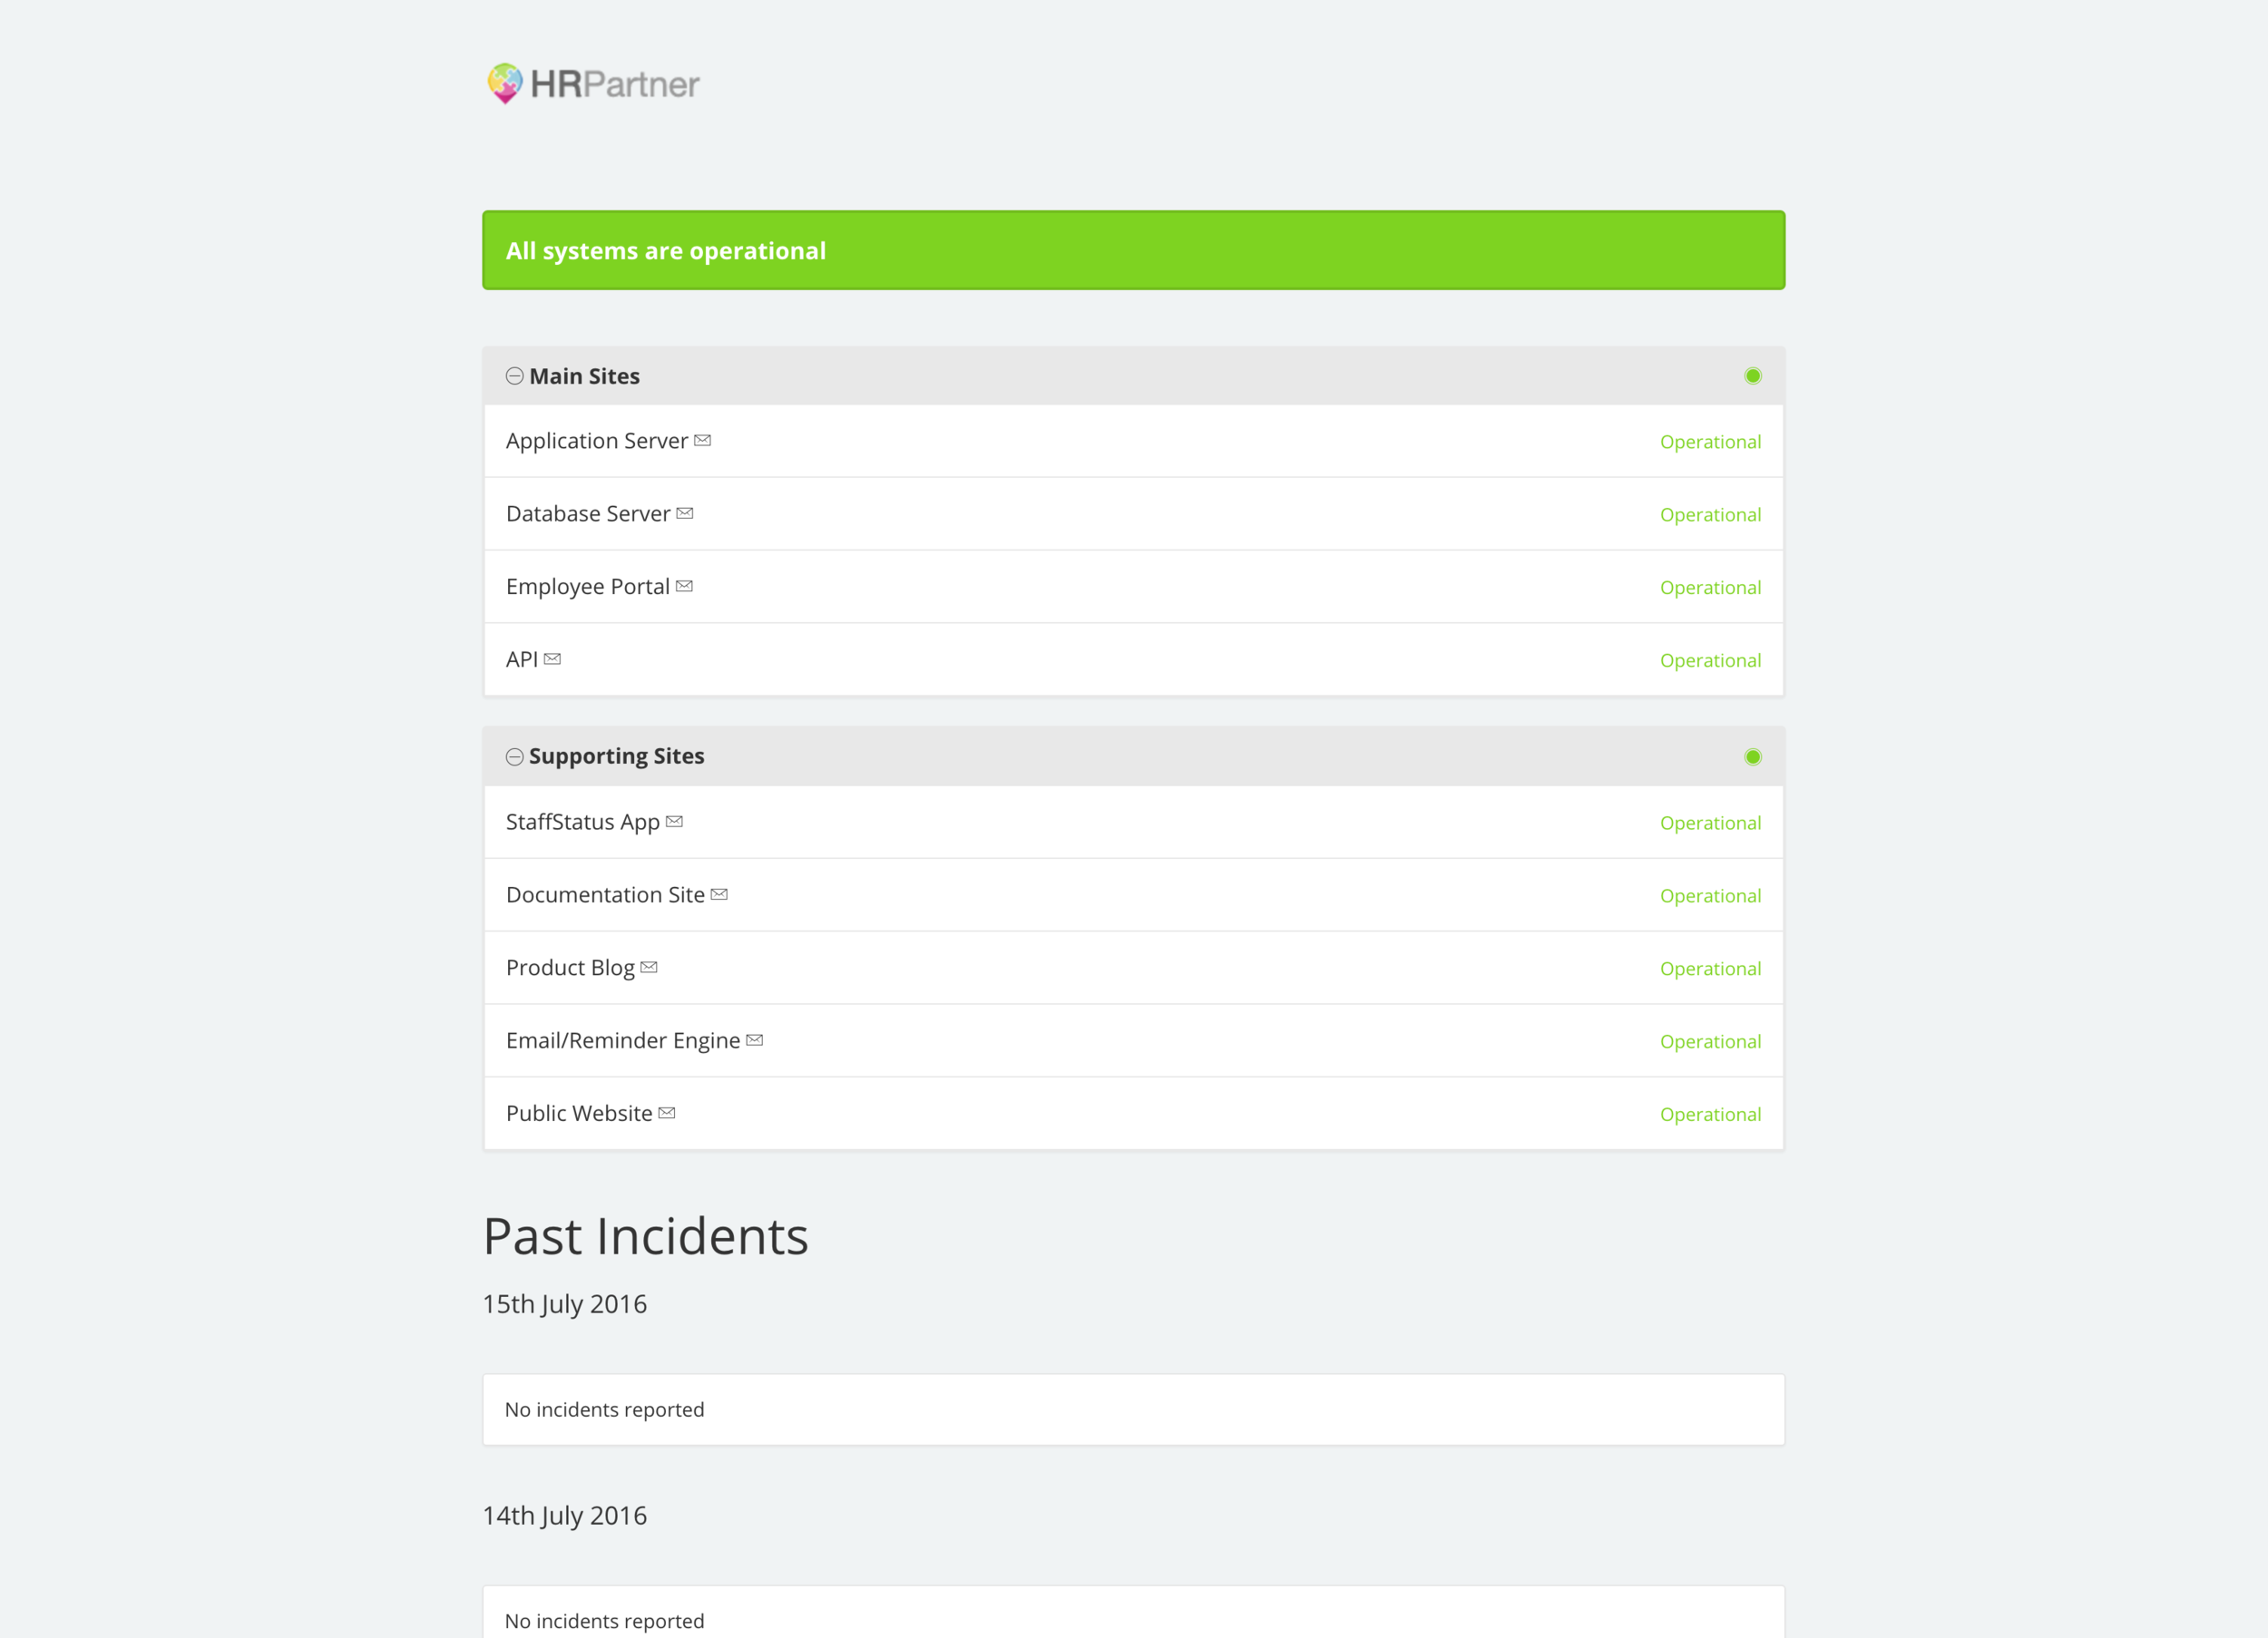
Our HR Partner status page at: status.hrpartner.io
Looking at most of the commercially available offerings, I found that while excellent, they were quite expensive, when compared to the project management, accounting and bug tracking tools that we already subscribed to. Being a relatively small, boot strapped startup, I didn't want to add to our already high monthly subscription burden too much at this stage.
Eventually, my search led me to Cachet, which is an open sourced version of a status page app, that seemed to have most of the features that the 'big boys' did. End of the day, we managed to host Cachet on a virtual server for around $5 a month, and given that the cheapest commercial variant we found was $29 per month, I am happy that we got something working for a budget price that is hard to beat.
Given the buyout of one of the main commercial vendors StatusPage.io by Atlassian today, a lot of people have seen me post about my efforts and have emailed or PMd me to ask how we went about this, so this post will hopefully let you know the steps we took.
Hosting
Our main HR Partner web app is hosted by Amazon AWS, in their us-east-1 region. Because we wanted some sort of redundancy in case of a major Amazon outage or regional catastrophe, we decided to host our status page on a Digital Ocean Droplet over on the West coast. Different providers, different infrastructure, different areas.
So the first thing we did was to set up a VPS in Digital Ocean. I picked the cheapest droplet they had, which was a $5 per month server running Ubuntu 14.04 (64 bit) with 512MB of RAM and 20GB of storage. Cachet doesn't take much in the way of resources at all, so this was plenty for us.
The Stack
Once the Droplet was up and running, we just opened up a console to the server from within our DO control panel, and installed MySQL on it. Digital Ocean have a great article on how to do this right here. We simply followed the instructions step by step.
Next step was to follow the equally great instructions from the Cachet documentation right here to install Cachet on that VPS.
I believe the only tricky thing that we had to do was tweak the permissions within the Cachet folder. I believe we had to chown the folder and all subfolders to the www-data user and group.
Configuring Cachet
Once we had Cachet installed as per above, we adjusted the .env file to use our preinstalled MySQL instance for the database, and also to use our normal Amazon SES service for the sending of emails. I believe we had to also change the default queue driver for sending emails. Here is what our config file looked like:
APP_ENV=production
APP_DEBUG=false
APP_URL=http://status.hrpartner.io
APP_KEY=***secret key here***

DB_DRIVER=mysql
DB_HOST=localhost
DB_DATABASE=cachet
DB_USERNAME=***yourdbusername***
DB_PASSWORD=***yourdbpassword***
DB_PORT=null

CACHE_DRIVER=apc
SESSION_DRIVER=APC
QUEUE_DRIVER=sync
CACHET_EMOJI=false

MAIL_DRIVER=smtp
MAIL_HOST=email-smtp.us-east-1.amazonaws.com
MAIL_PORT=25
MAIL_USERNAME=***yourSESuserIAM***
MAIL_PASSWORD=***yourSESkey***
MAIL_ADDRESS=status@hrpartner.io
MAIL_NAME="HR Partner Status"
MAIL_ENCRYPTION=tls
That was really about it! (Oh, don't forget to let Amazon SES know about the email address that Cachet will be using to send emails as - in our case status@hrpartner.io. Otherwise it won't pass the SES spam filtering).
Last thing was to tweak our Amazon Route 53 service to point status.hrpartner.io to our Digital Ocean VPS IP address. Done!
Now it was all a matter of setting up Cachet with our components and needed to be reported on, and we were away. All in all, I think the install and configuration took less than an hour to do.
BONUS: Auto update
Because HR Partner is a fairly complex app, with multiple sub apps for the API, reporting engine etc., deployment can take a while to do, and can result in slow performance for up to 15 minutes at a time while the virtual instances are updated and synchronised.
We use Amazon's Elastic Beanstalk command line tools to deploy changes, and at first our procedures meant that before we ran a deployment, we manually logged into our Cachet server to flag the services that would be down, then deployed, waited, and went back to Cachet to flag them 'green' again.
This was quite tedious, and I wondered if there was an automated way. It turns out there is. Cachet has a great JSON API, so what we did in our projects was to create a couple of files under the .ebextensions folder in our project folder. These files contain the scripts that we wanted Elastic Beanstalk to run before and after deployment. First, we created a file called 01_file.yml for the before script:
files:
"/opt/elasticbeanstalk/hooks/appdeploy/pre/02_cachetupdatestart.sh":
mode: "000755"
owner: root
group: root
content: |
#!/usr/bin/env bash
curl -H "Content-Type: application/json;" -H "X-Cachet-Token: [secret token]" -X PUT -d '{"status":2}' http://status.hrpartner.io/api/v1/components/2
curl -H "Content-Type: application/json;" -H "X-Cachet-Token: [secret token]" -X PUT -d '{"status":2}' http://status.hrpartner.io/api/v1/components/4
curl -H "Content-Type: application/json;" -H "X-Cachet-Token: [secret token]" -X PUT -d '{"status":2}' http://status.hrpartner.io/api/v1/components/5
curl -H "Content-Type: application/json;" -H "X-Cachet-Token: [secret token]" -X PUT -d '{"status":2}' http://status.hrpartner.io/api/v1/components/6
curl -H "Content-Type: application/json;" -H "X-Cachet-Token: [secret token]" -X PUT -d '{"status":2}' http://status.hrpartner.io/api/v1/components/8
Then we created a 02_file.yml for the after script:
files:
"/opt/elasticbeanstalk/hooks/appdeploy/post/02_cachetupdatefinish.sh":
mode: "000755"
owner: root
group: root
content: |
#!/usr/bin/env bash
curl -H "Content-Type: application/json;" -H "X-Cachet-Token: [secret token]" -X PUT -d '{"status":1}' http://status.hrpartner.io/api/v1/components/2
curl -H "Content-Type: application/json;" -H "X-Cachet-Token: [secret token]" -X PUT -d '{"status":1}' http://status.hrpartner.io/api/v1/components/4
curl -H "Content-Type: application/json;" -H "X-Cachet-Token: [secret token]" -X PUT -d '{"status":1}' http://status.hrpartner.io/api/v1/components/5
curl -H "Content-Type: application/json;" -H "X-Cachet-Token: [secret token]" -X PUT -d '{"status":1}' http://status.hrpartner.io/api/v1/components/6
curl -H "Content-Type: application/json;" -H "X-Cachet-Token: [secret token]" -X PUT -d '{"status":1}' http://status.hrpartner.io/api/v1/components/8
curl -H "Content-Type: application/json;" -H "X-Cachet-Token: [secret token]" -X POST -d '{"value":1}' http://status.hrpartner.io/api/v1/metrics/1/points
(Replace the [secret token] above with your unique Cachet API token.)
Now whenever we do an eb deploy command, the relevant status page components are marked 'yellow' for the duration of the deployment, then brought back up to 'green' again when completed.
Cheap As Chips
The only running cost for our status page is the $5 per month for the Digital Ocean hosting. That is all. We've been running this configuration for some months now with good results. When revenue and usage gets to the point where we need to update this, then we may look at some of the commercial offerings, but for now, this setup works well for us.
I hope we have managed to inspire others to try the same. As always, if you have feedback or suggestion on how we can do this better, I would love to hear from you.